
Candle making is both an art and a science, and choosing the right wick is one of the most important steps. The wick controls flame size, how evenly the wax melts, and the overall safety of the candle. Using the wrong wick can lead to tunneling, excessive smoke, soot, or a candle that burns too quickly.
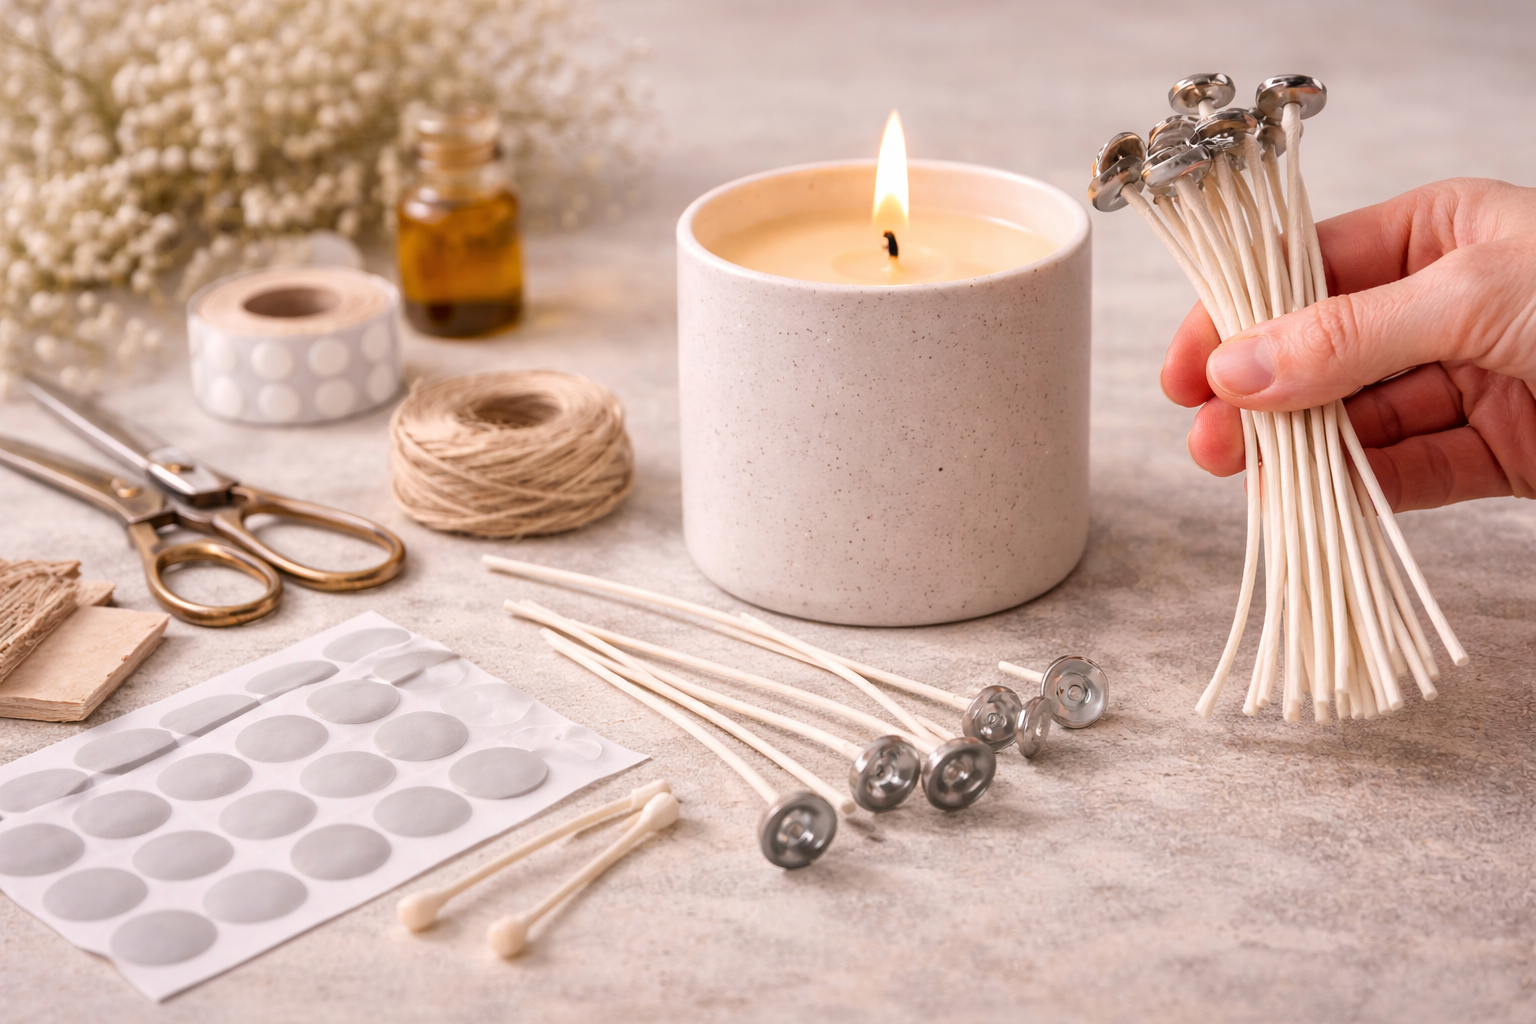
In our workshop, we use pre-waxed cotton wicks with metal holders, ideal for soy wax containers and decorative candles. These wicks are coated with wax, making installation simple, keeping the wick upright during pouring, and ensuring a stable flame from the first burn. With the right wick number, placement, and trimming, your candle will create a balanced melt pool, burn evenly, and release fragrance effectively.
Measure your candle diameter
Before selecting a wick, measure the diameter of your container or mold carefully.
How to Measure:
- Use a ruler or measuring tape.
- Measure straight across the top of the container, from one inner edge to the other, passing through the center.
- Record the measurement in centimeters.
Example: A container measuring 8 cm across has a candle diameter of 8 cm.
Pro Tip: Always measure the inner diameter of the container, not the outer. The container thickness can affect wick placement.
This measurement is essential to determine how many wicks are needed for even burning.
Determine the Number of Wicks
A cotton wick can generally burn 6–7.5 cm of diameter effectively, but this can vary depending on:
- Wax type (soy burns cooler than paraffin)
- Fragrance oils (high fragrance can slow wax melting)
- Container shape and height
| Candle Diameter | Recommended Number of Wicks |
| 2 – 5 cm | 1 wick |
| 5 – 7.5 cm | 1 wick |
| 7.5 – 9 cm | 2 wicks |
| 9 – 11 cm | 2–3 wicks |
| 11 – 13 cm | 3 wicks |
| 13 – 16 cm | 4 wicks |
Pro Tip: Always start with fewer wicks and perform a burn test before adding more. Too many wicks can create a large flame and overheat the container.
Proper Wick Placement
Even spacing is key to creating a full melt pool, which ensures even burning and proper fragrance throw.
1 Wick:
- Use for small candles ≤7.5 cm diameter
- Place exactly in the center
2 Wicks:
- Use for medium candles 7.5–10 cm
- Space wicks evenly on either side of the center
- Distance from center: ~2–2.5 cm
3 Wicks:
- Use for large candles 11–13 cm
- Arrange wicks in a triangle pattern to distribute heat evenly
- Distance from center: ~3–3.5 cm
4 Wicks:
- Use for extra-large candles 14–16 cm
- Arrange wicks in a square formation
- Keep wicks 1.5–2 cm away from the container walls to prevent overheating
Pro Tip: Use centering sticks, wick bars, or glue dots to keep the wick perfectly centered while pouring the wax. Uneven wicks can cause uneven melt pools and tunneling.
Wick Trimming
Proper trimming ensures a clean, safe, and controlled flame.
- Trim to 6 mm (¼ inch) above the wax surface
- Trim before the first burn, before each relight, and after long burning sessions
- Use wick trimmers, scissors, or nail clippers
- Remove trimmed wick pieces to prevent soot buildup
Why trimming matters:
- Prevents large flames
- Reduces smoke
- Avoids carbon buildup (“mushrooming”)
- Helps candle burn longer and safer
Wick Material Types
Different wick materials affect flame size, burn quality, and the look of your candle:
- Cotton wicks: Beginner-friendly, stable, pre-waxed options available
- Wooden wicks: Crackling effect, decorative, usually paired with soy blends
- Zinc-core wicks: Keeps wick upright in large candles
- Paper-core wicks: Stronger flame, used in larger container candles
Pro Tip: Our workshop uses pre-waxed cotton wicks, which are reliable and easy to center.
Wax Type & Wick Selection
Different waxes burn differently:
- Soy wax: Burns cooler; may require larger wicks
- Paraffin wax: Burns hotter; smaller wicks may suffice
- Gel wax: Requires gel-specific wicks
- Coconut wax blends: May need testing for optimal wick size
Pro Tip: Always perform a burn test for each wax, fragrance, and container combination.
Common Wick Problems & Solutions
| Problem | Cause | Solution |
| Tunneling | Wick too small | Use a larger wick or add another wick |
| Large flame | Wick too big | Trim or use a smaller wick |
| Smoking | Wick too long | Trim to 6 mm |
| Mushrooming | Carbon buildup | Trim regularly |
Pro Tip: Document your wick choices and results in a burn test log for future reference.
Safety Guidelines
- Trim wick before each burn
- Burn ≤ 4 hours at a time
- Keep away from drafts
Never leave a burning candle unattended
Wick Testing
How to test your wick professionally:
- Make candles with different wick sizes
- Burn for 3–4 hours
- Observe flame height, smoke, and melt pool
- Adjust wick size and spacing if needed
- Record results for consistency
Pro Tip: Always test new wax blends, fragrances, or container types before mass production.
Final Tip
For wider candles, it’s usually better to use multiple smaller wicks rather than one large wick. This ensures balanced burning, prevents tunneling, and maximizes fragrance throw.
Quick Reference Wick Chart
| Candle Diameter (cm) | Number of Wicks | Wick Placement / Spacing |
| 2 – 5 | 1 wick | Center |
| 5 – 7.5 | 1 wick | Center |
| 7.5 – 9 | 2 wicks | 2–2.5 cm from center, straight line |
| 9 – 11 | 2–3 wicks | 2 wicks: 2.5 cm from center; 3 wicks: triangle pattern |
| 11 – 13 | 3 wicks | Triangle formation, 3–3.5 cm from center |
| 13 – 16 | 4 wicks | Square formation, 3.5–4.2 cm from center, 1.5–2 cm from container edge |